This article will cover the step-by-step basics of how to outdoor marijuana grow. It is geared towards novice growers interested in growing cannabis outdoors or who have successfully grown indoors. This article aims to review the basics, emphasizing the growing stages while supplies are available.
I find that it is the responsibility of those who have not grown outdoors before to provide more detailed information about their efforts to make good choices for those interested in outdoor techniques. Therefore, this article aims to provide an overview and review of best practices and advice.
Introduction:
As a novice gardener, you must take the time to thoroughly learn the basics of plant growth and when to use specific techniques. For example, a simple change in lighting strains often results in an increase in yield due to an increase in photosynthesis. The ultimate goal for outdoor marijuana grow is to produce enough yield for personal use or sale.
Reason For Outdoor Growing marijuana:
- Pot growers throughout history have used containers and growing mediums such as soil, Rockwool, coco coir, etc., to grow their plants indoors successfully. Outdoor pot-growing provides the same opportunity.
- Growers seek to avoid potential diseases that may be carried indoors or by insects. Cannabis plants grow faster outdoors than they do in soil or other indoor growing mediums, and they do not suffer from many of the pests and disease threats often present indoors.
- They provide the grower with a private outdoor space to grow their cannabis. Outdoor growing provides a sense of privacy and an opportunity to produce large amounts of cannabis.
- The best way to grow your cannabis plant is in an environment with plenty of fresh air and sunlight.
- By using natural sunlight and fresh air, you can grow your plants without the need for costly artificial light. The Shade protects marijuana from windbreaks and sun. In addition, the Shade protects all-natural things which can damage marijuana.
How to Grow marijuana outdoor?
Outdoor marijuana grow requires more care than cannabis grown indoors, as the natural elements, including sunlight, rain and wind. But it’s also ultimately much easier to do if you follow a few basic guidelines.
Step One: The Starting Stage
Before beginning any grow attempt, first, you will want to identify the specific strain you want to grow. Instead of guessing which strain would be best for your situation, you can go online and read descriptions about different types. Then, once you have conducted a thorough review of the available strains, pick the one that best suits your needs.
Next, you will want to decide on which grow method to use. You can choose to outdoor marijuana grow indoor. The methods below will work, but some will provide a higher yield than others.
Step Two: Watering
The first stage in which you will work on getting your plant to grow is watering. The first step in cannabis care is ensuring that your plants get enough water and sun.
The soil must stay moist but not over-saturated. The plant uses approximately 2% of its overall water supply during this initial growth stage. Therefore, The growing of cannabis is a delicate process that requires special care and attention. So, while any soil can be used as long it contains rocks or water in its composition, you may also purchase a commercial potting mix specifically designed for this purpose!
Step Three: Nutrient Absorption and Photosynthesis
Your main focus will be on growth, nutrient absorption, and photosynthesis in this stage. You can expect a plant’s stem to grow at least 4-5 inches during this stage. The stem will continue to grow until the pre-flowering stage, after which it will begin to branch out and form new shoots that will flower.
During the vegetative stage, your plant must receive the proper amount of light, water and nutrients. This particular phase of growth creates the capacity for a plant to absorb nutrients from its environment when in the flowering phase, resulting in larger yields (in some cases).
Step Four: Fertilization Stage
During this stage, the plant’s needs must be met to survive. The number of nutrients required will vary between strains and the nutrient brands used, but you must follow directions carefully when fertilizing your cannabis plants.
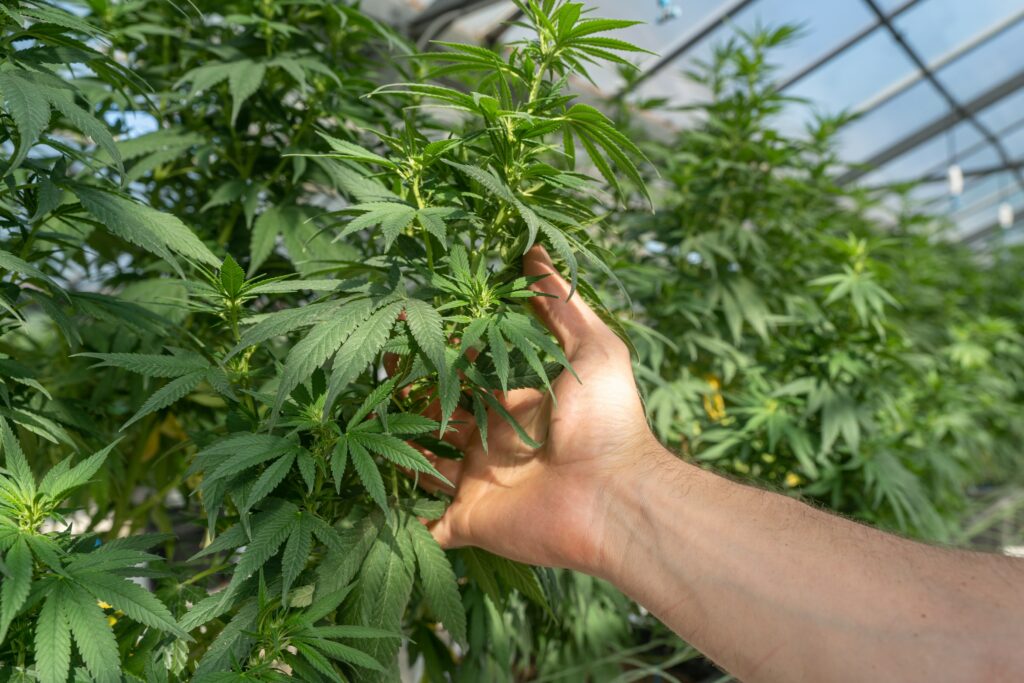
Step Five: Trimming Stage
In This stage is where the plant’s stems and leaves are removed, also referred to as manicuring (this term will be used throughout this article). This trimming process occurs while the plant enters the flowering phase. During this stage, the amount of manicuring will affect your yield during harvesting time. The manicured leaves and stems can be turned into water hash or hash oil if done properly. Hash oil can also be extracted from cannabis flower buds – both require professional equipment and knowledge, so that I won’t cover it here.
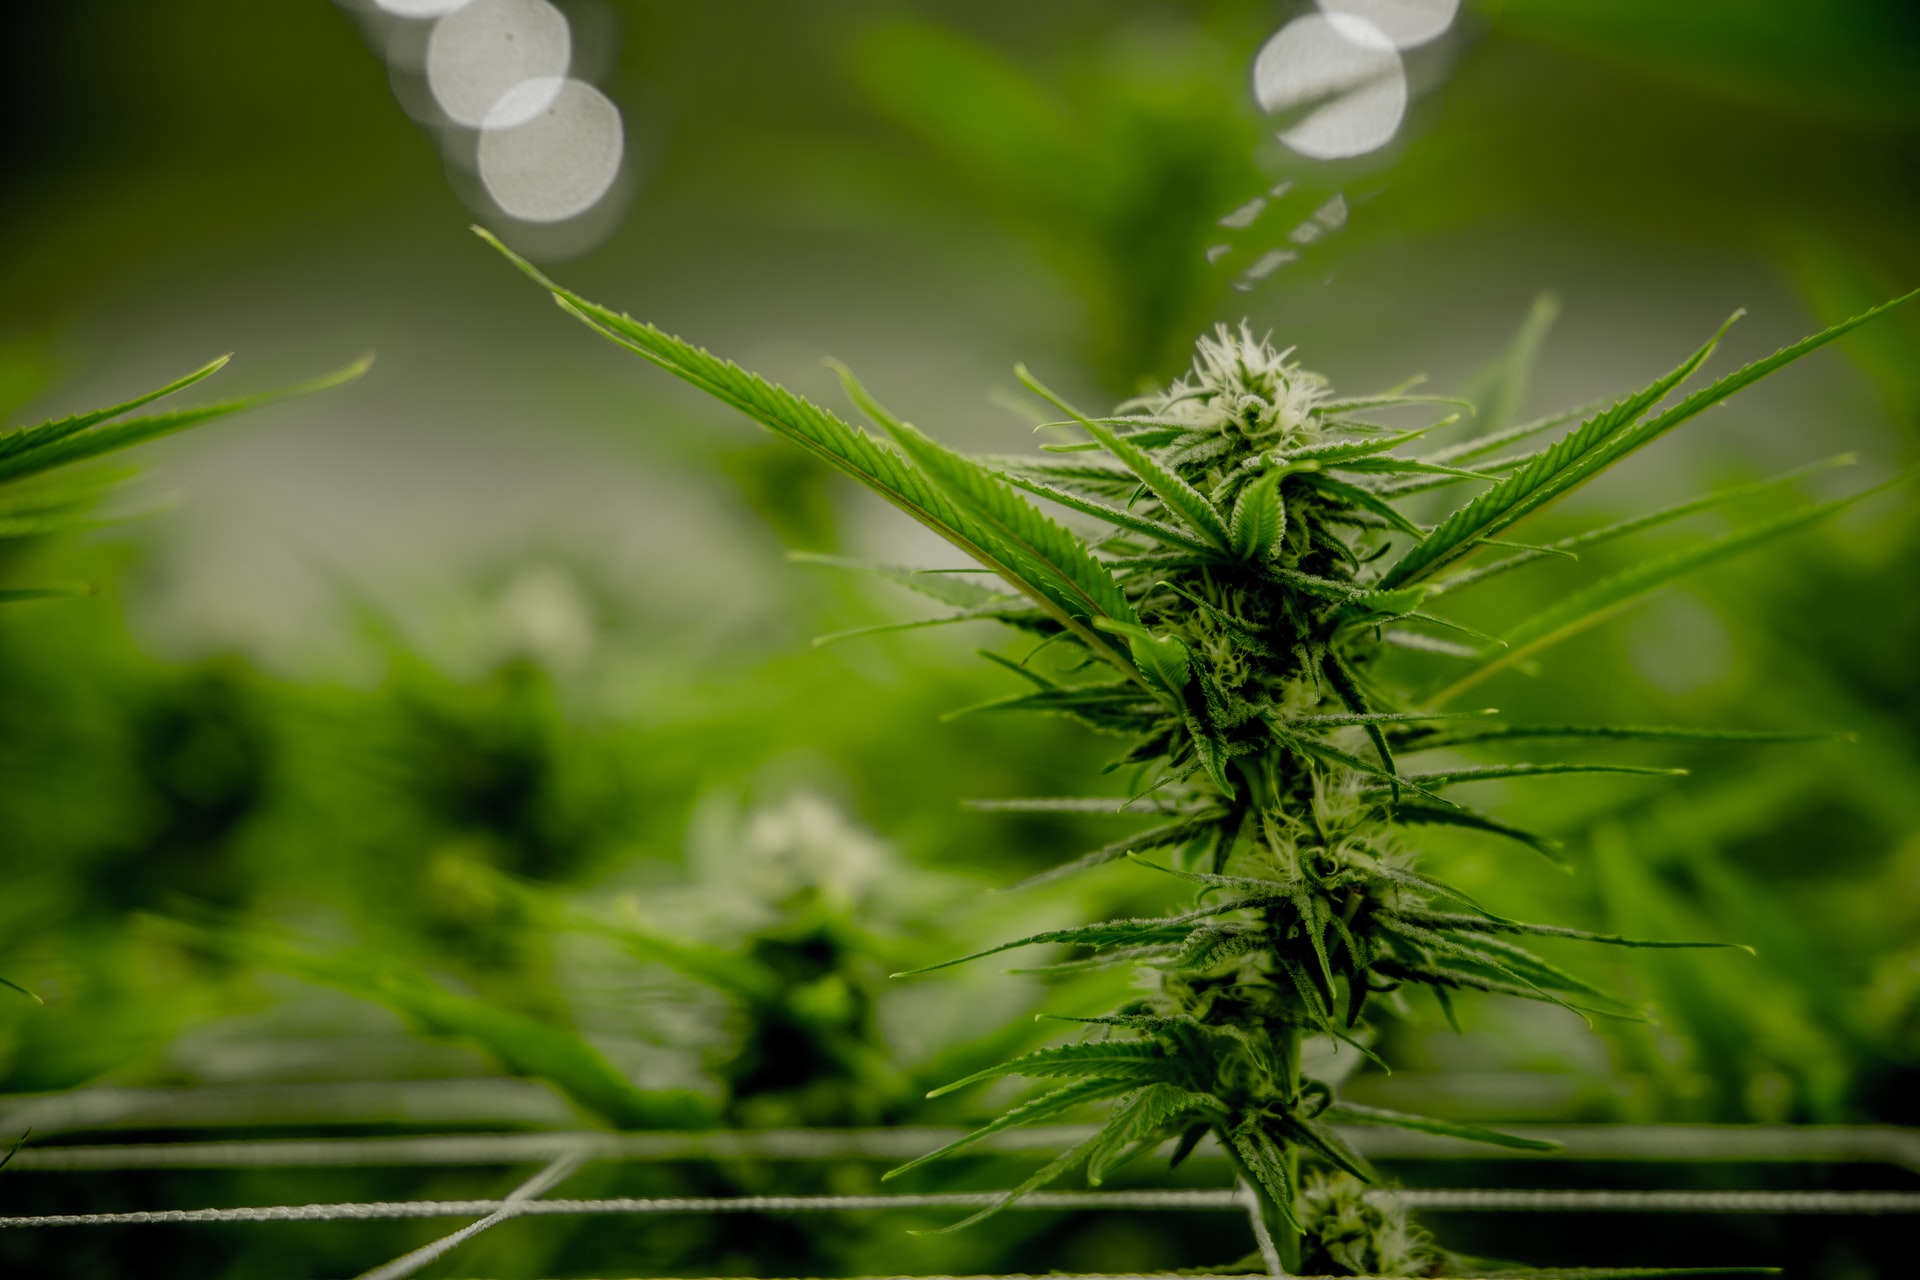
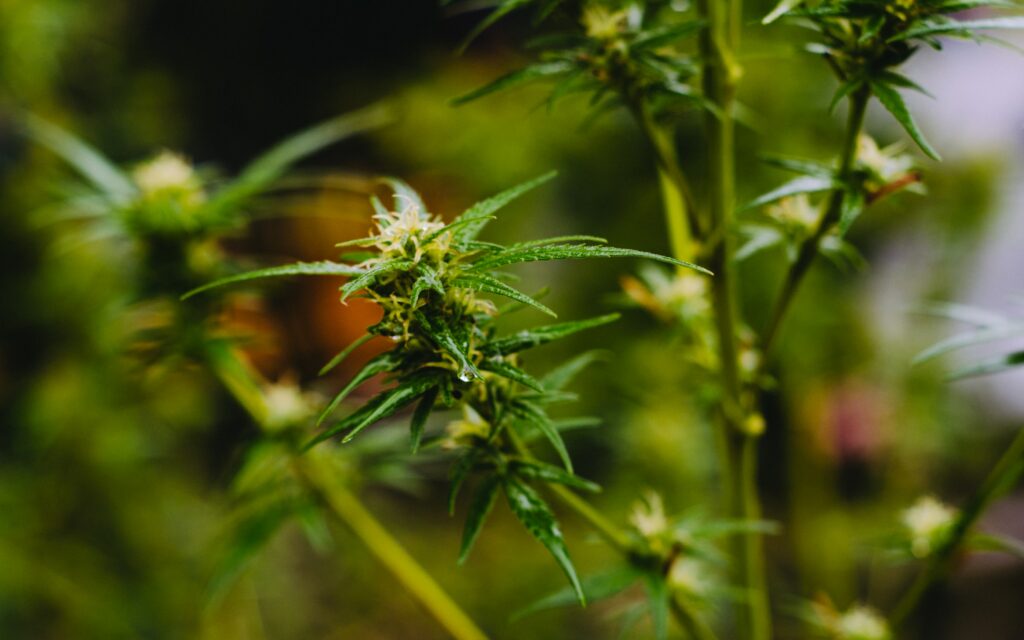
Step Six: Flowering Stage
This is where the leaves and buds of your plant will begin to blossom as it enters the flowering stage. Therefore, the amount of time spent in this stage directly affects the size of your final yield.
Step Seven: Harvesting Stage
The last and final stage in which you will work on your plant is the harvesting stage. This is where you collect any concentrated amounts of THC in edibles and other applications. Properly harvested cannabis can be used for hashish, water hash, smokeable joints/spliffs, pre-rolled joints, tinctures and cooking oils.